How I Used Agentic AI to Build a Prompt-to-Video App (Using Open Source, No Costly APIs)
Explainer videos are everywhere - startups use them to pitch, educators use them to teach, and creators use them to share ideas. But making one usually means hours of scripting, designing, and editing… or paying for expensive tools.
Well… hold my beer 😎.
 A quick flow of Mnemo (sped up)
Meet Mnemo - a prompt-to-video generator I built during an internal hackathon at my company, ThinkingCode Technologies. Over the past few months, we've been experimenting heavily with agentic AI applications, and our CTO Mr. Prashanth Prabhu decided to challenge us with a simple but exciting problem statement: "build a prompt-to-video generator."
For example, the user might ask "What are Vector Embeddings?" and the application should produce a 5–10 minute explainer video that clearly and creatively breaks down the technical concept - no manual scripting, editing, or design work.
I immediately sketched out a plan and locked in the core tech stack: Python with FastAPI for the backend and Next.js for the frontend.
Everything in between, though, was a playground - the hackathon gave me the perfect excuse to try out some projects and services I had been curious about. Two highlights were OpenAI's new open model gpt-oss-120b and the Cerebras inference engine, which I was eager to experiment with in a real build.
Cerebras is known for its lightning-fast LLM output - hitting speeds of nearly 3,000 tokens per second. At first, I started with DeepSeek R1, which delivered solid results. But because my pipeline required multiple LLM calls, the script generation step was painfully slow.
Switching to Cerebras inference made a night-and-day difference. The speed boost transformed the workflow, turning what felt like a bottleneck into a smooth process.
The agentic framework powering the application was developed in-house at ThinkingCode for building agentic applications across our products. While I could have used any open-source agentic framework, the ThinkingCode.ai agent framework stood out for its predictability and proven reliability in production environments.
In the current landscape of agentic AI, predictability is often sacrificed in favor of open-ended adaptability. Many new frameworks focus heavily on giving agents freedom - allowing them to decide their own reasoning paths. But this can lead to unpredictable behaviors, inconsistent outcomes, and difficulty in debugging or scaling. For production-grade systems, unpredictability is a deal-breaker.
That's where opinionated agent frameworks make a difference. By enforcing structured reasoning patterns, clear task boundaries, and predictable handoffs between agents, they balance adaptability with control. The ThinkingCode.ai framework is built on top of this philosophy - an opinionated agentic fabric that captures the best of both worlds, making it a dependable foundation for any agentic workflow.
Here is how the flow works. To generate the script, I designed a multi-step strategy inspired by how movies are structured:
- Divide the video into segments- much like scenes and shots in a film.
- Define segment types - intro, narration, image, equation, bullet points, quiz, etc.
- Segment Planner Agent - the first agent decides which segments to include and in what order so that the video delivers a coherent narrative within the time constraints.
- Narration Maker Agent - the next agent takes each segment, identifies its type, and generates both the narration and the corresponding on-screen content.
- Incremental generation with context - the narration maker agent calls the LLM to build each segment step by step, always keeping previous segments in context. This ensures continuity across the video and also bypasses the intentional output-length limits of LLMs to create the entire script in one pass.
- Master Script - once complete, the entire video script is stored in JSON format, serving as the single source of truth for the final video.
With the script ready, the next challenge was to translate it into an actual video.
For this, I turned to a tool I had experimented with quite a bit back in 2020: Manim. Short for Mathematical Animation, Manim might already be familiar to anyone who has watched 3Blue1Brown on YouTube - the channel famous for its beautiful math and AI explainer videos.
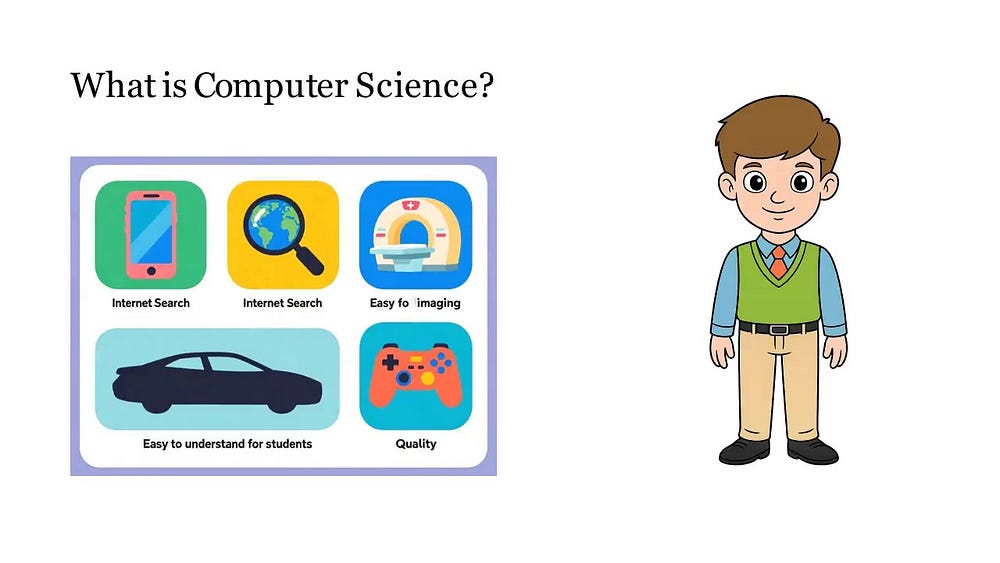 An image segment frame from one of the generated video
The library was originally created by the channel owner mathematician Grant Sanderson to produce his own content. Later, he open-sourced it, and today it's actively maintained under the manim-community repository on GitHub.
The LLM created master script contains both the narration and the segment-specific metadata. For example, if a segment is a quiz, its metadata includes the question, options, and correct answer. If it's an image segment, the metadata stores the prompt used to generate that image.
This metadata then drives the video creation pipeline, which uses it to generate individual segment videos. Once all segments are ready, they're combined to produce the final video.
For generating the narration audio, I used the Coqui TTS engine. Coqui delivers impressive voice quality when given good sample references - it can even clone your favorite presenter's voice. Narrations for each segment are generated first, and then the video duration is adjusted to perfectly match the audio length.
Then came a challenge that was too noticeable to ignore - synchronizing the audio with the video in the quiz segments. The quiz segment will show the question, list down 4 options, start a countdown and finally reveal the answer. The narration also follows this order. The tricky part was perfectly matching the moment the narrator says the correct answer with the moment the answer gets highlighted on screen. If they were even slightly out of sync, the viewing experience felt awkward; the answer might be highlighted while the narrator was still reading the question, or the voice might declare the answer after the highlight had already appeared.
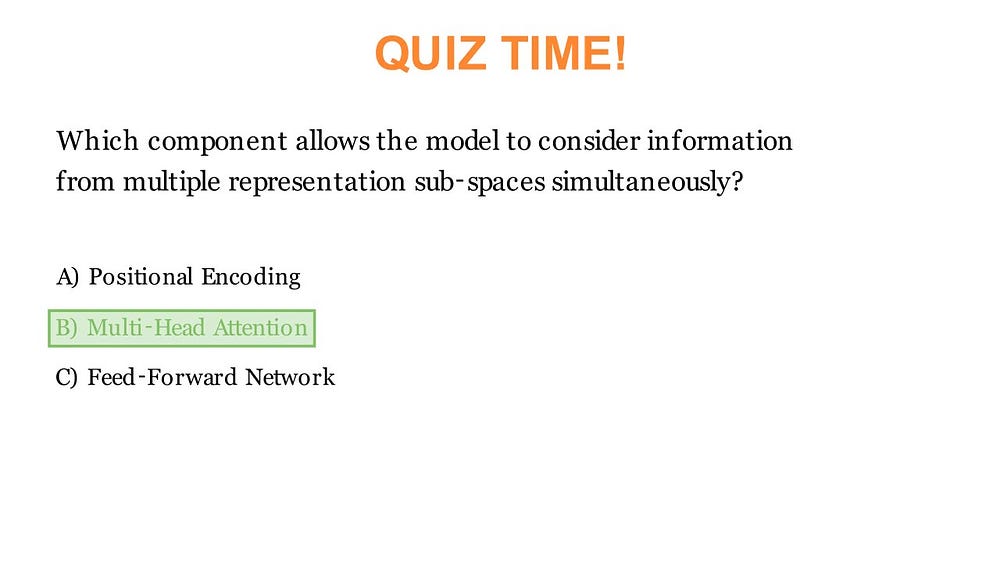 A quiz segment frame from an explainer video about transformers
To solve this, I added a simple but effective rule: the LLM must always include the phrase "the answer is" right before announcing the correct option. I then used the OpenAI Whisper model (open source) to transcribe the narration and extract the exact timestamp of that phrase. The ending timestamp of that phrase became the trigger point for the highlight animation, ensuring perfect alignment between audio and visuals.
The other segment types didn't pose major synchronization issues, so I left them as-is. But if needed, the same timestamp-based approach could easily be applied.
Finally, to bring more life to the video, I added an animated character with simple mouth movements. The animation toggles between two images - open-mouth and closed-mouth depending on the audio amplitude crossing a given threshold. It's a simple but effective trick. With a bit more work, additional postures and random toggling could make the animation feel even more dynamic. The lip-sync isn't winning any Oscars yet - but that's next on the to-do list.
The application frontend was built with Next.js - a React-based web framework. I decided to build the backend using FastAPI in Python because most of the heavy lifting like media processing was already handled in Python. FastAPI allowed me to keep the backend lightweight, fast and clean. For additional backend services such as database, authentication, and storage, I used Supabase.
To build the UI, I used popular component libraries like HyperUI and AceternityUI. The styling was done with Tailwind CSS, and animations were added using Framer Motion.
Since the video creation took some time, I wanted to give the users realtime update on the progress of the video. To achieve this, I used ntfy, which is a simple HTTP-based pub-sub notification service. Once the notification is ready, the users will be notified and taken to the preview page where they can watch their video.
The types of segments included in the video are avatar narration (with bullet points, images, and formulas), quizzes, tables, equations, and an intro section with the video title prepended to every video.
For generating info-graphic images relevant to the topic, Qwen/Qwen-Image was used. The only API I paid for was Qwen-Image as my laptop took one look at the model and said, 'Yeah… that's not happening'. But it only costed me around ₹1.30 per image and the image generation was pretty fast (less than ~8 seconds). All these segments are then stitched together using FFmpeg to generate the final output.
Here is a sample prompt and the generated image:
A clear, educational diagram of a green plant leaf under the sun. Yellow sun rays are shown entering the leaf. Arrows indicate inputs:
"Carbon dioxide" from the air and "Water" from the roots.
Style requirements: Educational diagram style, Clean and clear design,
Bright colors, English text only, Easy to understand for students,
Professional infographic quality, Clear labels and text inside the image,
Scientific accuracy, Suitable for learning materials.
Quality: High resolution, sharp details, educational poster quality.
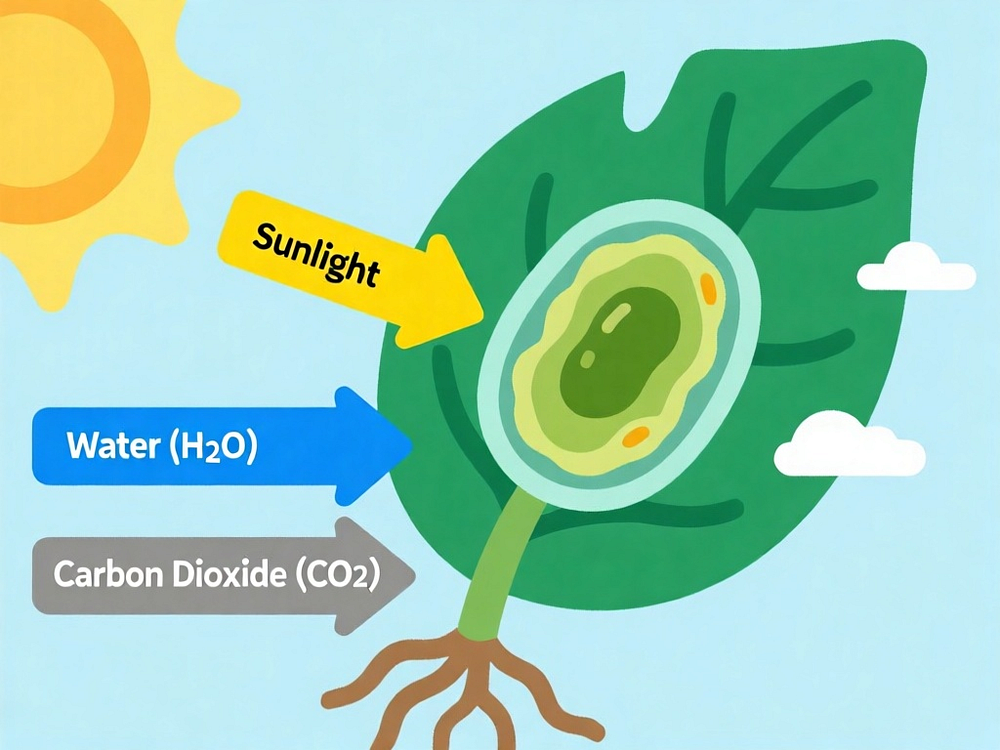 Image generated from Qwen-Image on Hugging Face
As for what's next - the project is still under development. Future updates will include features like allowing users to edit individual segments through prompts, making the content more flexible and interactive. I also plan to give users more control over video duration, target audience, and narration style. A major UX enhancement on the roadmap is introducing multiple "presenters" - each with their own distinct presentation style, avatars and voice - so users can curate the viewing experience to their audience.
Here is a sample video from the current version.
A completely AI generated sample video from Mnemo explaining "What is Computer Science".
By the way, Mnemo secured the first place in the hackathon.
Thanks for taking the time to read about the project!